Transforming the Godot engine into a powerfull 3D Powerpoint
Published on 2025-08-28
Hello, hi. Today, I’m going to present a project that involved adding PowerPoint features to the Godot game engine. Transforming the engine into a tool for creating interactive 3D presentations.
Why would you do such a thing?
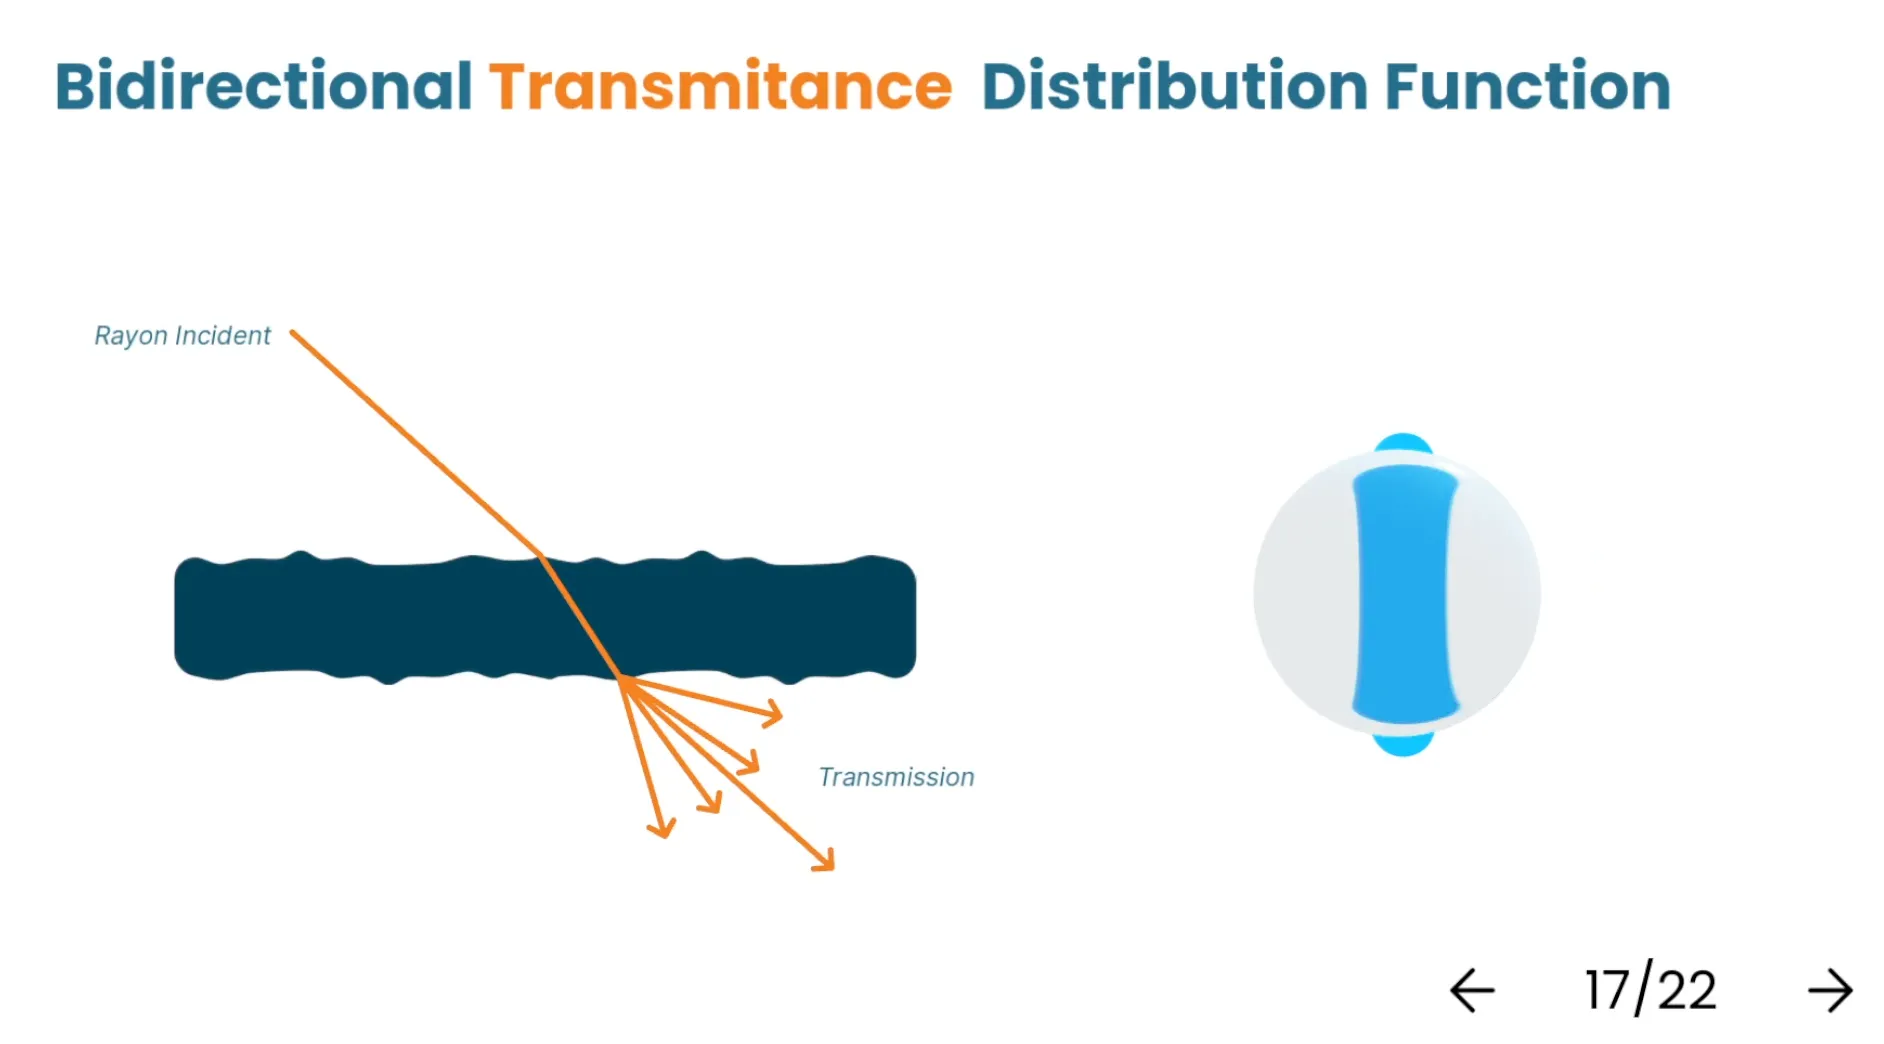
This project is fundamentally linked to my final project for my second year at engineering school at the Cnam. I conducted a state-of-the-art review on a topic that I had chosen: Methods for rendering light in 3D video games and their evolution to the present day. The subject is very broad and very technical. So I focused on three major aspects of the subject for my research:
- Object surfaces and materials
- Cast shadows
- Bounced light: Global Illumination and Ambient Occlusion
The document I produced was 127 pages long (including the appendix).
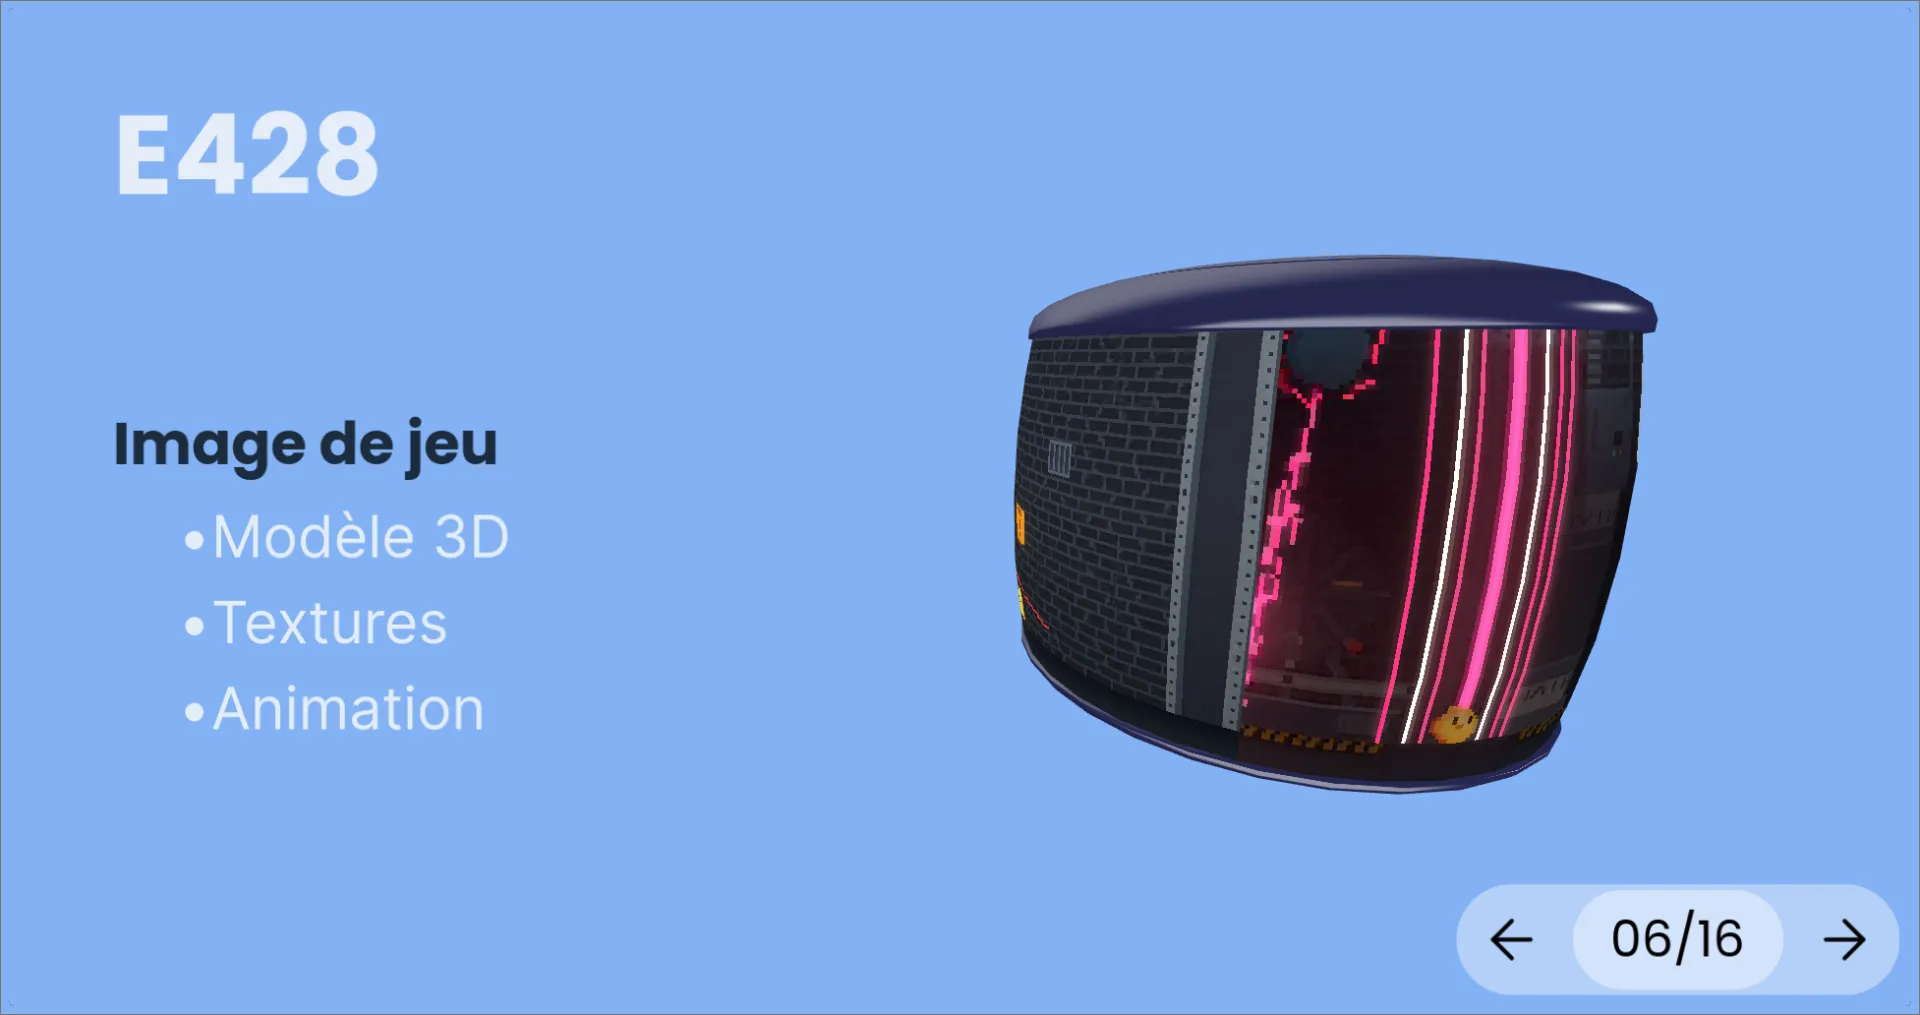
I also had the task of presenting my research at the end of the year during a presentation that would last about twenty minutes. It therefore had to be as visual as possible to enable the audience to intuitively understand the concepts presented. The most effective way to explain light transport simulation was also to produce a large number of visualizations.
The issue with PowerPoint
PowerPoint is a very comprehensive presentation software program. It allows you to easily create slides. It has many animation and transition features. It includes a presenter mode that allows you to view your notes for each slide during presentations. And, technically, PowerPoint can import 3D models and animate them in a rudimentary way.
However, the software becomes complex to use when the main content consists of images and videos. It requires a lot of manual work to position images correctly, objects end up being selected accidentally, and transitions between slides that contain videos are often abrupt. Furthermore, it is a pain to synchronize two videos on two different slides.
Given the number of visualizations I was going to have to include in my presentation, the option of using traditional presentation software quickly became unthinkable.
Alternative approaches
There are alternative presentation creation options that work very well for visualization. Some software allows you to create presentations/animations using code, for example:
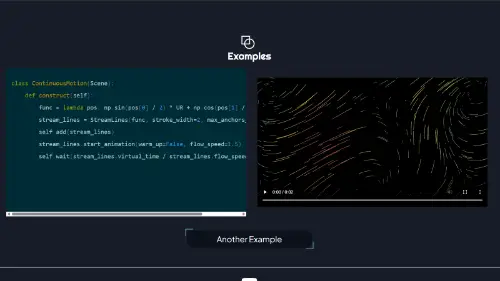
These libraries allow for advanced visualizations with a high degree of control. Manim, for example, has basic 3D rendering capabilities. However, none of these libraries contain a realistic 3D rendering engine with drop shadows, PBR materials, or global illumination. I would have had to have developed an advanced rendering system using OpenGL, WebGL or ThreeJS, which would have required more work than I could provide in the time available before the presentation.
So I turned to more classic game engines that gave me access to their renderers, 3D scene editing, 2D scene editing and user interface creation:
- Unreal Engine
- Unity Engine
- Godot Engine
I had experience with all three engines, and after some testing, I settled on Godot. The engine had all the feature combinations I needed to build a presentation engine:
- Quite advanced and dynamically flexible rendering engine
- Ability to change rendering settings very easily
- Property reflection system
- The engine allows access to each property of each node without the need to create specific interfaces
- Advanced tweening system
- Ability to animate almost all properties of scene nodes using the reflection system
- Drag-and-drop interface creation system for making text slides
- Very handy for replacing the workflow of classic presentation software

Developement
I started creating the library on February 5, 2024 for a presentation scheduled for April 25, 2024. I developed the project entirely in my spare time during those two months. To test how my library worked, I also planned to use it for a brief presentation on my career path at the University Institute of Technology in Le Puy-en-Velay on February 22, 2024.

For the February presentation, the library was quite rudimentary. It includes the important basics for presentation software: keyframe system, transitions, slides and presentation control interfaces. I blended both 2D and 3D elements to test the engine’s behavior, and the results were very promising.
I then continued developing the library to add the missing features for the April presentation and did a lot of work refactoring existing features.
The lib features
The slides system incorporates many of the features of presentation software while being designed to maintain the greatest flexibility in the engine.
- Keyframes system that can animate properties present in the engine
- Object property tweening
- Position, rotation, scale, color, brightness, materials, post-processing
- Controlling the timelines of
AnimationPlayers
- Object property tweening
- Template scenes for text slides with automations
- Introduction, bullet points, text, etc.
- Slide control via keyboard or mouse
- Custom UI
- Presenter mode in a second window containing notes and a preview
- Can be displayed on a second screen
- System for displaying 2D shapes in 3D space
- Arrows, lines, polygons, wireframes, etc.
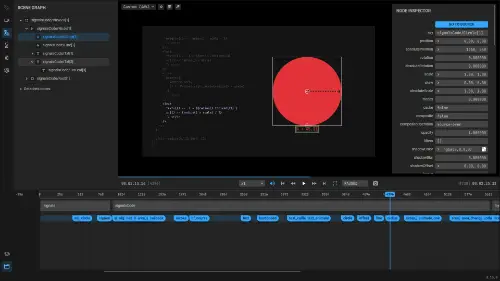
Keyframe animation system
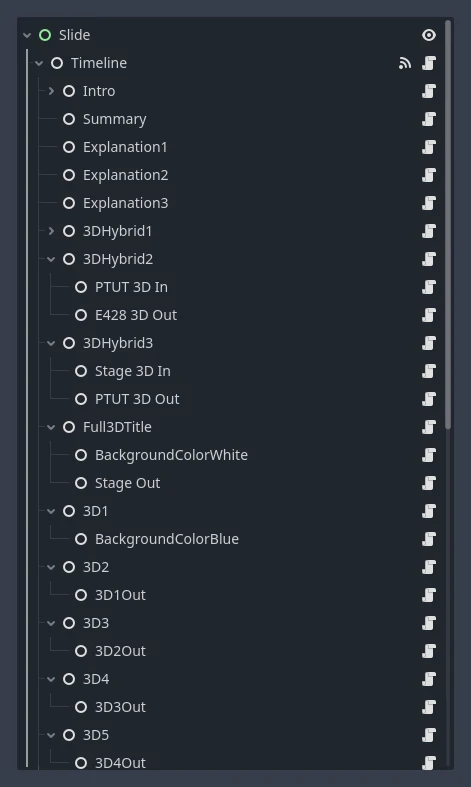
The animation system is based on a hierarchy of nodes placed in the scene. The main node is the Timeline node, it runs the animation system. It has keyframe nodes as children. To animate several properties simultaneously, keyframe nodes can contain other Keyframe nodes that play simultaneously with their parent.
Hierarchy of a timeline inside a scene:
 ○ Root
 └── ○ Timeline
     ├── ○ Keyframe 1
     │   ├── ○ SubKeyframe 1.1
     │   ├── ○ SubKeyframe 1.2
     │   ├── ○ SubKeyframe 1.3
     │   └── ○ SubKeyframe 1.4
     ├── ○ Keyframe 2
     │   ├── ○ SubKeyframe 2.1
     │   ├── ○ SubKeyframe 2.2
     │   └── ○ SubKeyframe 2.3
     ├── ○ Keyframe 3
     │   └── ○ SubKeyframe 3.1
└── ○ Keyframe 4This hierarchy corresponds to a presentation with 4 slides with transitions of varying complexity.
Keyframes are nodes that have a script attached that inherits from the PropertyKeyframe class. This class contains the basic data needed to perform a transition:
- Reference to the node and its property that should be animated
- Inherits from a tweening management class
- Reference to the previous and next Keyframe if they exist
class_name PropertyKeyframe
extends Keyframe

@export_category("Reference")
@export var node : Node
@export var property : String

@export_category("Tweening")
@export var duration: float = .5
@export var delay: float = 0
@export var transition = Tween.TRANS_SINE
@export var ease = Tween.EASE_IN_OUT

@export_category("Misc")
@export var make_visible_at_launch: bool = true

@onready var _default_value
@onready var _end_value

var _is_valid = true
var _is_previous_enabled = true

var _previous_keyframe: PropertyKeyframe
var _next_keyframe: PropertyKeyframe

# Region functions
...To animate specific properties, I have implemented specialized classes that have specific parameters: ColorPropertyKeyframe, Vector3PropertyKeyframe, Vector2PropertyKeyframe, BoolPropertyKeyframe.
Exemple with a ColorPropertyKeyframe :
extends PropertyKeyframe

@export var end_value : Color = Color.WHITE

func _ready() -> void:
_end_value = end_value
super()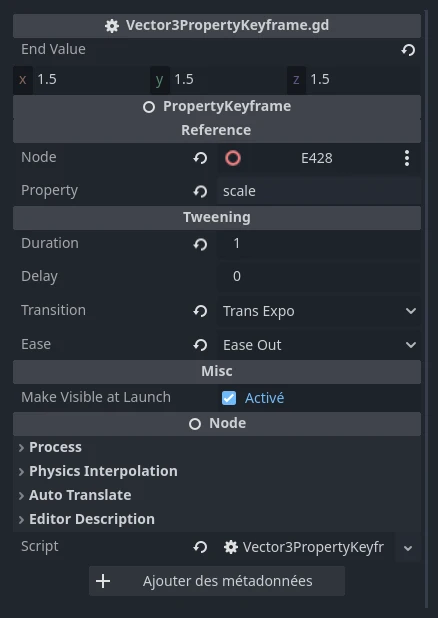
Keyframes are controlled by the Timeline script. This script controls the execution of animations and the management of keyframes:
extends Node

signal frame_changed(new_frame: int, frame_count: int)

var _frames: Array[KeyframeCollection]
var _current_frame: int = 0

# Setup
func _ready() -> void:
  _frames = get_all_keyframes(self)
  setup_property_keyframes(_frames)
  ...

func _process(_delta: float) -> void:
  handle_input()
  ...

# Get all main keyframes in hierachy
func get_all_keyframes(node) -> Array[KeyframeCollection]:
  ...

# Get all sub frames for a given keyframe
func get_all_subkeyframes(node) -> Array[Keyframe]:
  ...

# Setup each keyframe behaviors and link them to their previous and next keyframes
func setup_property_keyframes() -> void:
  ...

func handle_input() -> void:
  ...

func go_to_next_frame() -> void:
  ...

func go_to_previous_frame() -> void:
  ...

# Go to a specified frame by going previous/next iteratively
func go_to_frame(new_frame: int) -> void:
...Slides templates
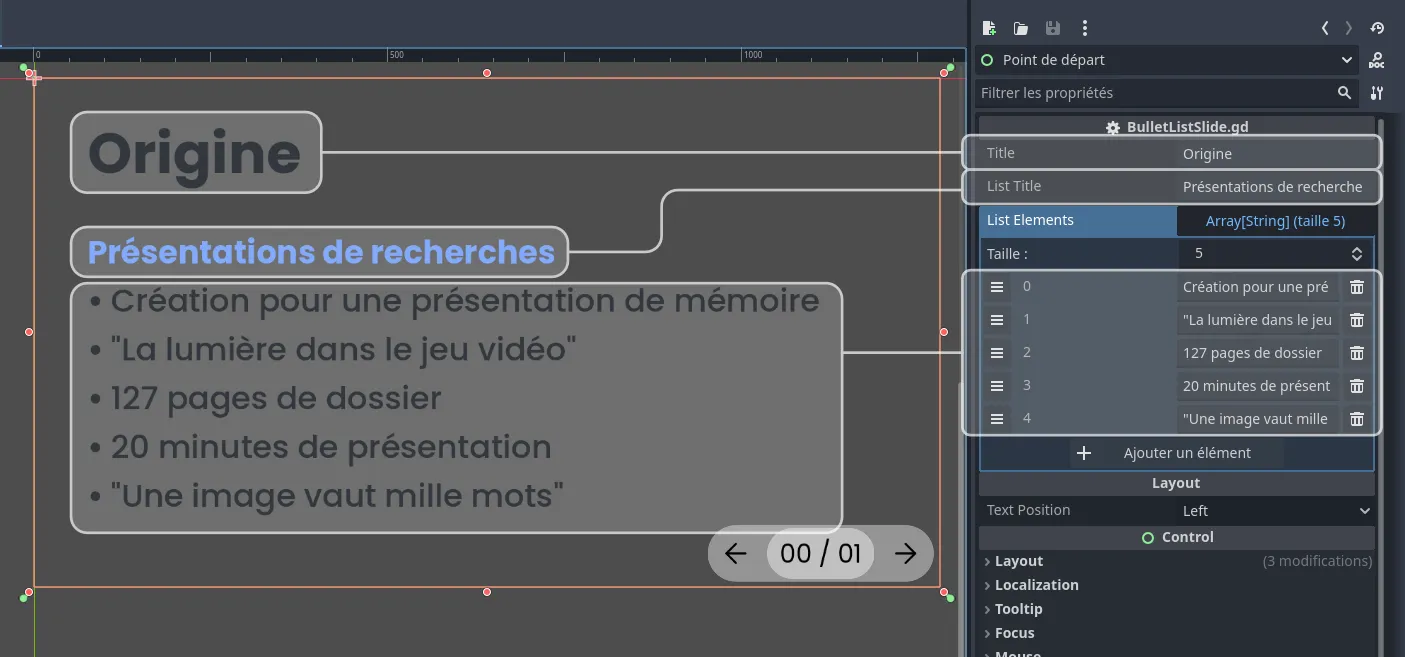
To make the library easier to use, I created a few UI scenes that I use as slide templates. These templates serve as a basis for standard slides: introduction, summary, bullet points, etc. These scenes have properties that can be modified from the details panel inside the editor.
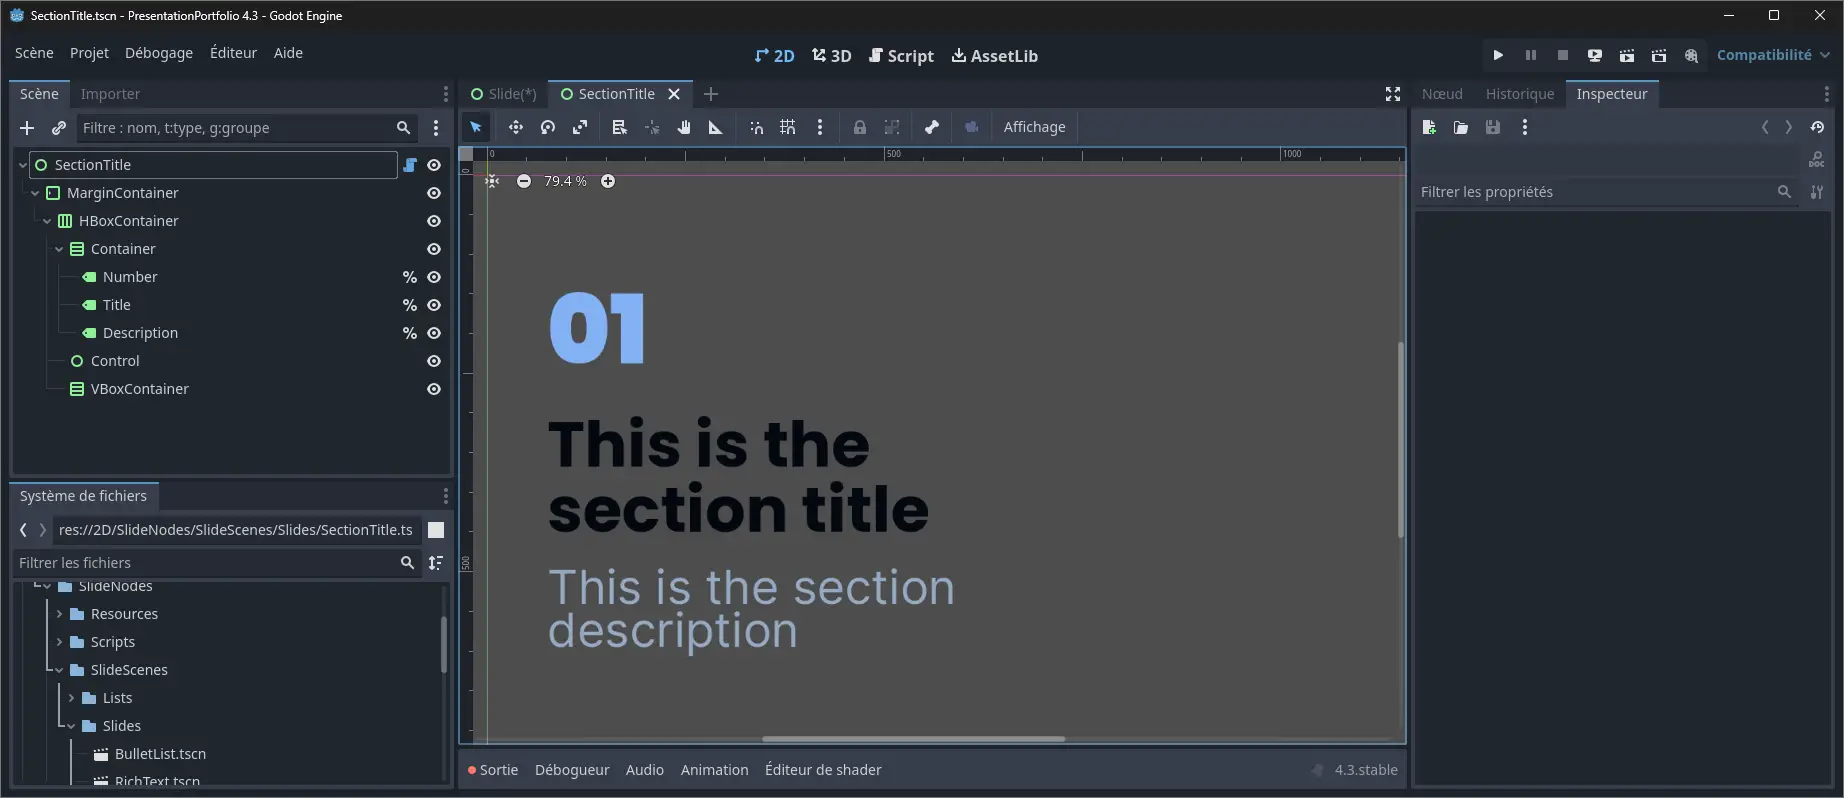
I added @tool scripts that allow me to update these templates when their properties are changed. For example, modifying the title, the number of bullet points, or the section number updates the scene in the editor.
Navigation
Navigation is done using the keyboard and mouse. The library includes a navigation widget that contains a back button, a slide selection, and a forward button. Keyboard navigation is done using the standard keys.
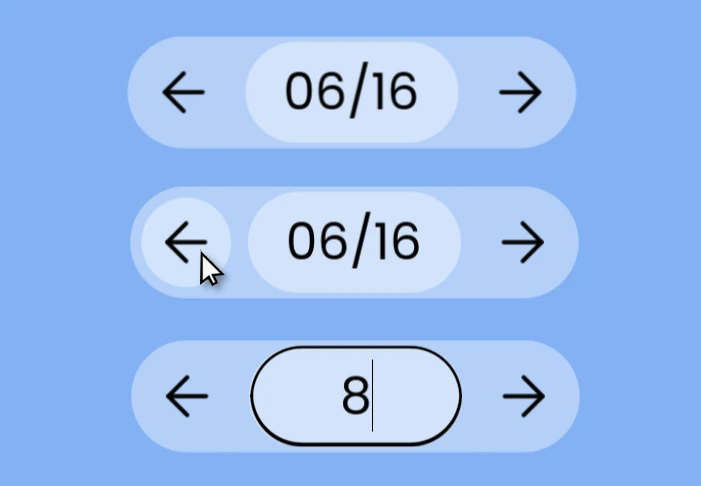
The navigation widget communicates with the rest of the system via Godot’s signals.
Presentation mode
I added a presenter mode to the library. This allows you to have a second window that can be placed on a second screen if needed. It displays notes for the current slide as well as a preview of the presentation. To help with time management, the window also displays the current duration of the presentation and the number of the current slide.
Here is a demo of presenter mode:
2D Shapes Overlay
To assist with the visualization, I developed a system that allows me to display 2D shapes in 3D space. This system displays lines with a constant thickness regardless of their position in the environment. By using multiple lines, it is possible to display more complex shapes such as arrows, outlines, or wireframes.
To do this, the system uses a node2D and uses the draw_line() functions. It references points in 3D space and projects them into the camera space.
2D Overlay test scene:
For example, in this clip, we go from a view inside a 3D room to a schematic 2D view. The scene remains in 3D, but the system animates the camera’s FOV and the scene’s post-processing to give it a 2D appearance.
Transition from a 3D environment to a 2D view using the line display system:
Demo
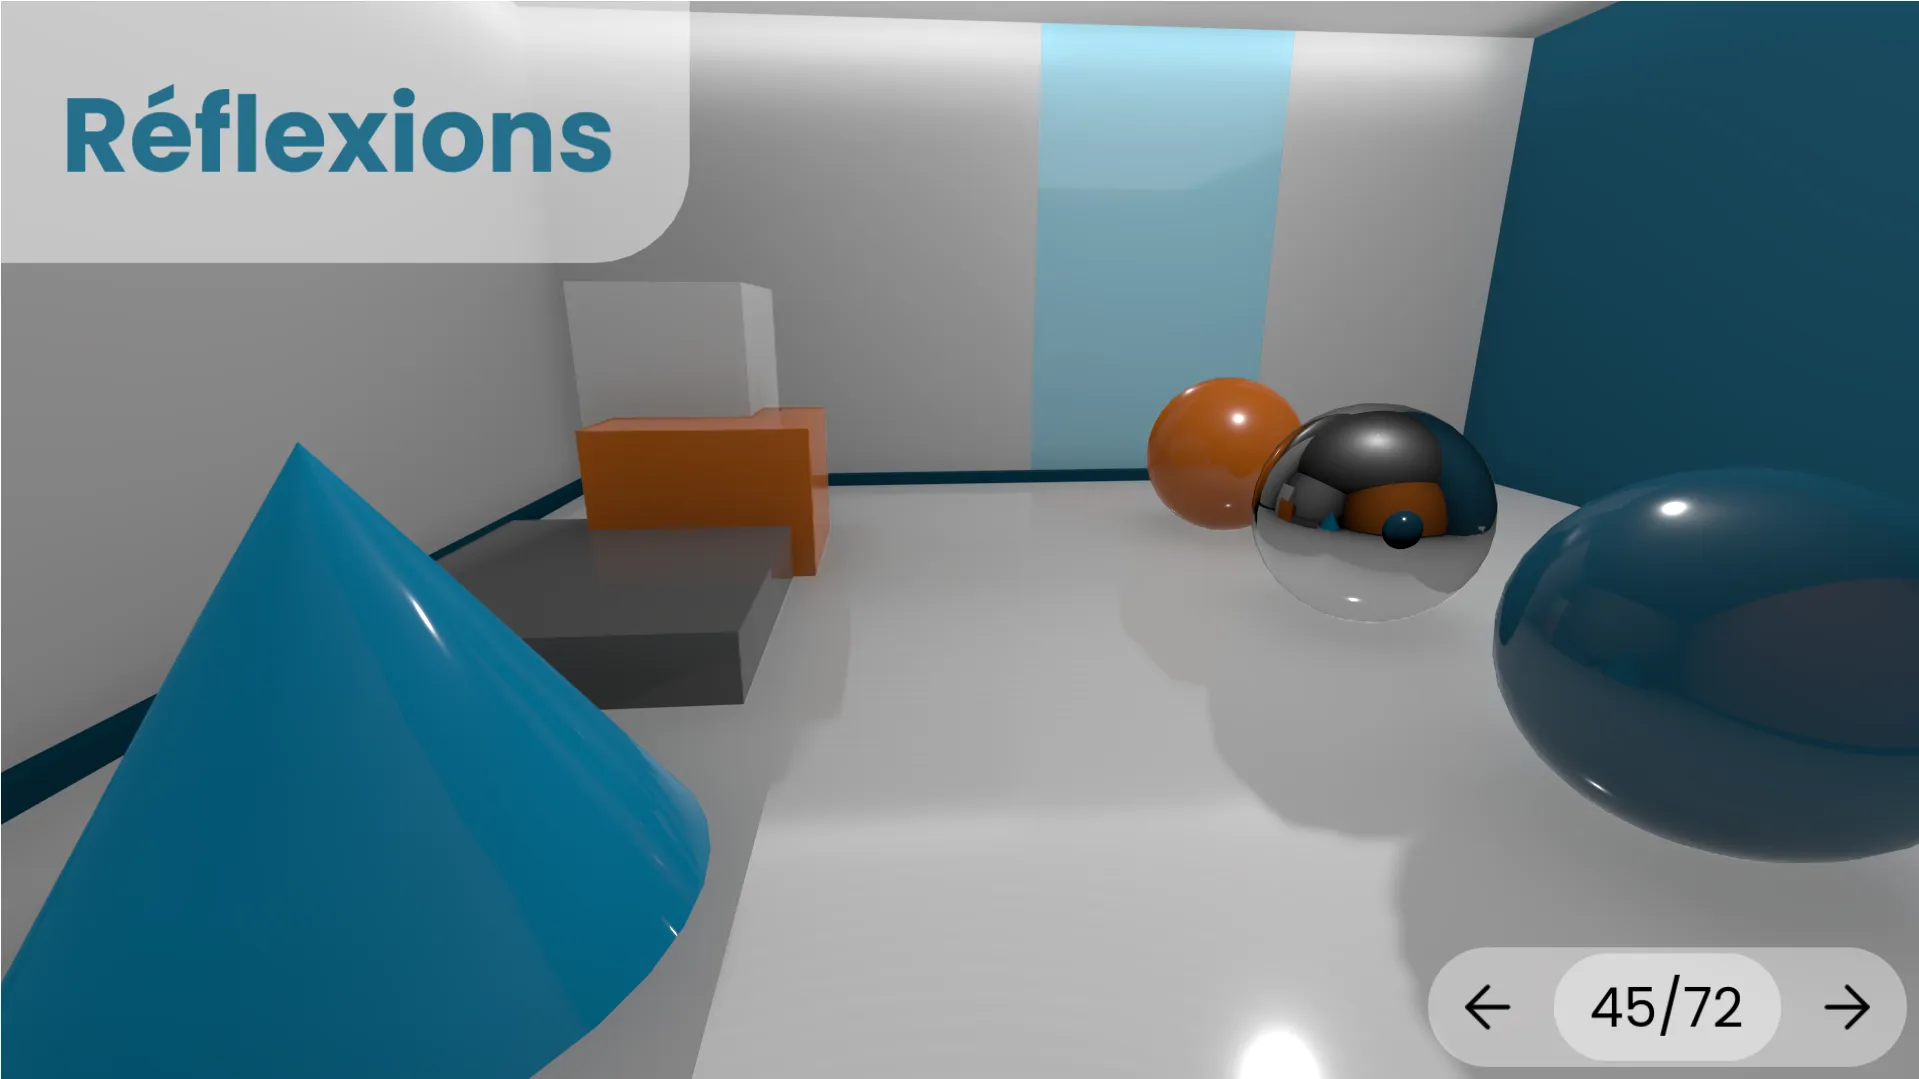
This is what the system can do for a complex presentation:
Introductory slide on light in video games:
Introductory slide on global illumination with activation in the engine:
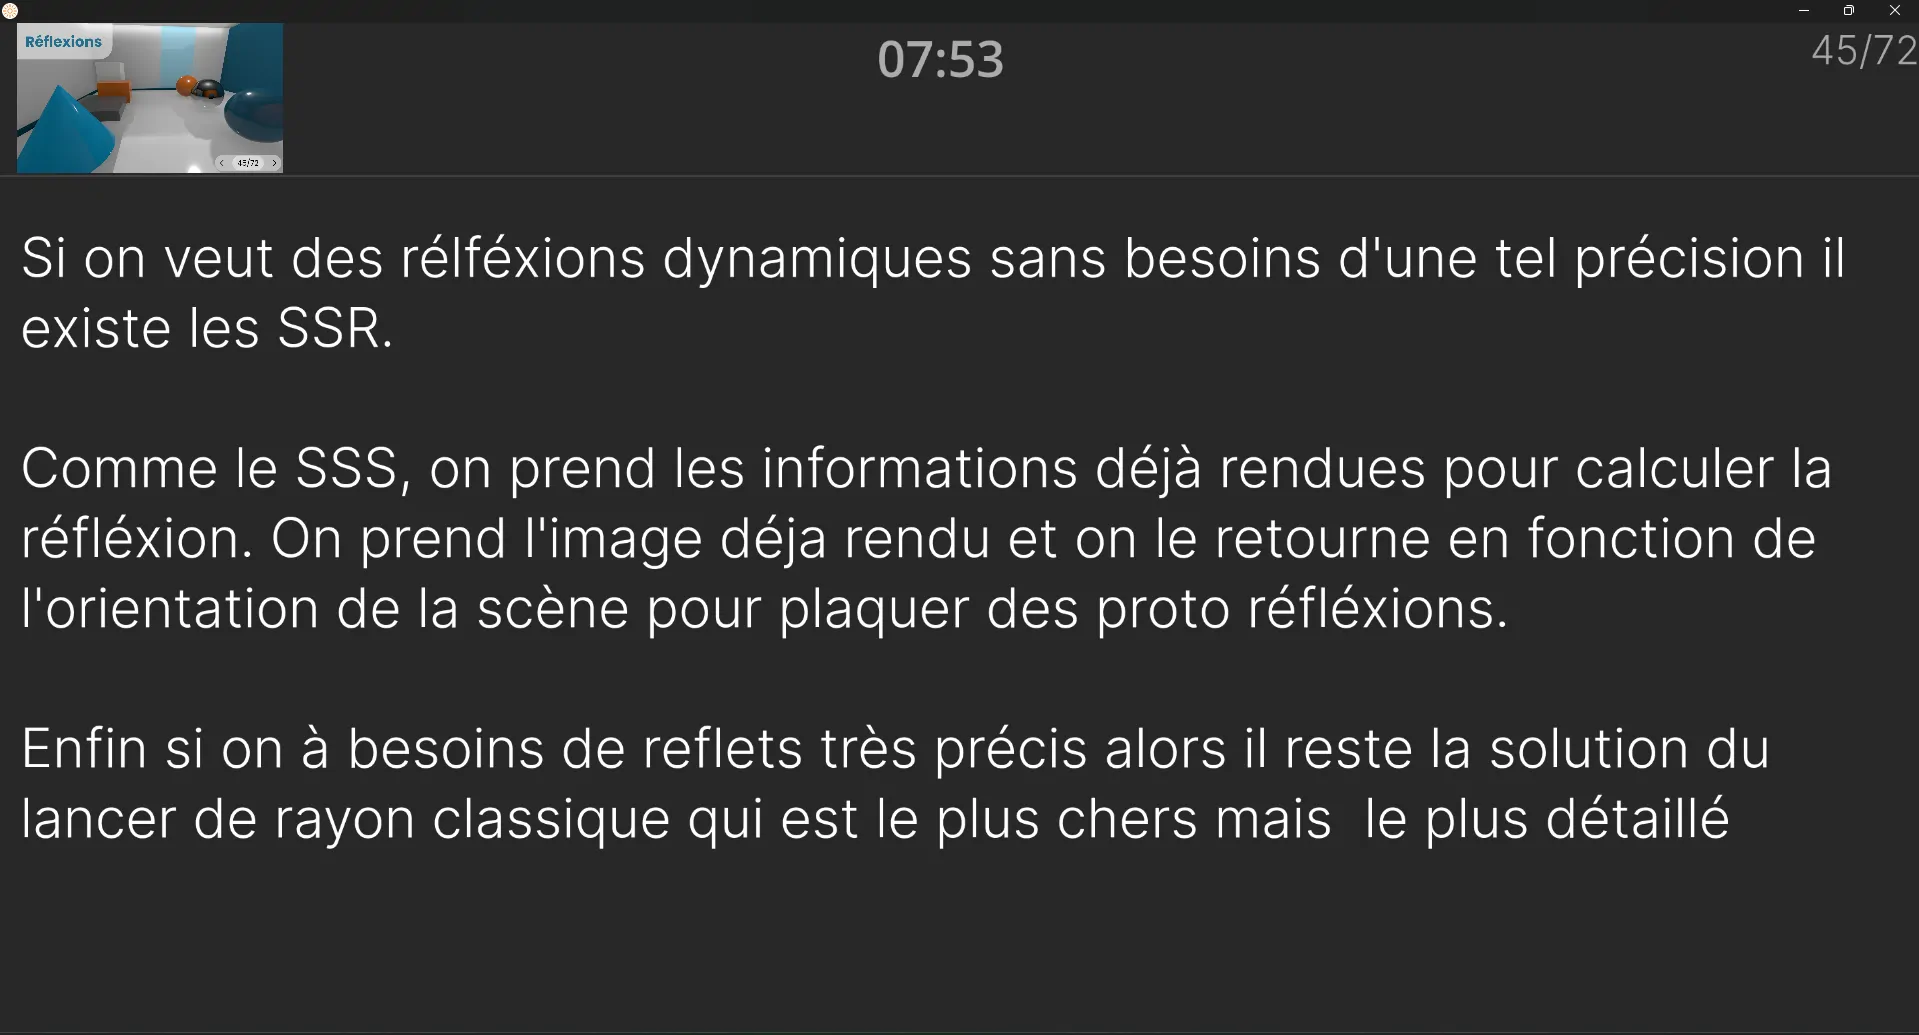
After making a few minor changes, I was able to add web export for presentations. Here is one made specifically for this article (it is in French, but the text does not really matter).
The library was designed to be used in a native desktop application context. It is therefore possible that the demo may have performance issues that are not present in the full version. Shader compilation causes freezes when displaying new materials, but it happens only once per new material, after that, it should be smooth. This is because Godot 4.3’s web export is mono-threaded by default for compatibility reasons.
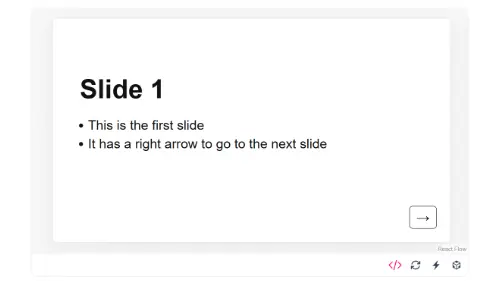
Press the button to start the presentation:
Conclusion
This project was very intense and very interesting. I learned a lot about the internal specifics of Godot and the issues involved in animation systems. I was able to give my presentation on the state of the art on time. I also presented it at work and received very positive feedback.
The library is not final, it was made mainly as a proof of concept, it contains a few bugs and could use some work in terms of usability. I would very much like to revisit this project and fix these remaining bugs and issues so that it can become a truly useful library for others. If anyone is interested in the library in its current state, I am open to making it available.
Thank you for reading this far. I hope you found this article interesting. If you did, please feel free to share it or let me know what you think!